Understand what FLUX 3 Video can generate
FLUX 3 is Black Forest Labs’ early-access multimodal foundation model, trained across images, video and audio. BFL says FLUX 3 Video can create clips with native audio up to 20 seconds in one generation. Its announced modes include text-to-video, image-to-video, video-to-video from a reference clip, video-and-audio continuation and keyframe-to-video transitions. Early access matters: availability, interfaces and results can change as the model and its serving systems develop.
- Up to 20 seconds in a single generation
- Native speech, effects and ambience
- Text, image, video and keyframe inputs
- Early-access capabilities may change
Choose a FLUX 3 video generation mode
Start with the input that already contains the most important information. Text-to-video offers the most freedom for a new scene. Image-to-video anchors the opening appearance or uses an image as a visual reference. A reference video can carry central elements such as a character into a different context. Keyframes define important moments in order, while continuation begins from existing video and audio. This choice is more important than adding extra adjectives to the prompt.
- Text to video: invent a scene from a written brief
- Image to video: preserve a starting frame or visual reference
- Reference video: guide identity or source-video elements
- Keyframes: control transitions between defined moments
Write a focused FLUX 3 Video prompt
Build one readable shot before attempting a complex sequence. Describe the subject, visible action and environment first; then add framing, camera movement, lighting, pace, sound and the intended ending. For a realistic video, prioritize physical materials, plausible motion and visible light sources. For a cinematic video, add purposeful framing, camera behavior, color and a final story beat. Black Forest Labs’ general FLUX prompting documentation recommends clear natural-language descriptions and iterative refinement. It covers the broader FLUX family, so treat this as practical guidance rather than a guaranteed FLUX 3 formula.
A brushed-steel service robot assembles a microchip under cool laboratory light. Macro close-up, slow lateral camera track, precise mechanical motion, restrained reflections. A quiet servo sound follows each movement. End on the completed chip in sharp focus.
FLUX 3 Video settings explained
Settings are provider-specific, so confirm them in the interface you actually use. On this website, the generator offers 16:9, 9:16, 1:1 and 21:9 framing, 720p or 1080p resolution, and a duration control beginning at five seconds. The displayed credit estimate changes with duration and resolution. Black Forest Labs separately states that FLUX 3 can produce clips up to 20 seconds and supports a broad range of aspect ratios; that official capability does not mean every provider exposes every setting.
- 16:9 for common landscape delivery
- 9:16 for vertical mobile placement
- 720p for lower-cost testing; 1080p for higher-resolution output
- Use the shortest duration that contains the complete action

Create FLUX 3 text-to-video step by step
For text-to-video, begin with a single event that can be understood without an existing reference. Establish who or what is present, what changes during the shot and where the action ends. Add a camera instruction only when it helps communicate that event. Generate, watch the complete clip and revise one major variable at a time. This controlled loop makes it easier to tell whether motion, composition, timing or sound caused the problem.
- Define one subject and one central action
- Match camera movement to the action
- State the final visual beat
- Revise one important variable per attempt
Use FLUX 3 image-to-video effectively
BFL describes two image-to-video uses: continuing from a starting frame, described as animation, and using images as visual references. Choose a clean image in which the subject, silhouette and important details are easy to read. In the prompt, explain what should move, what should remain stable and how the camera should respond. An image provides appearance and composition; it does not replace clear motion direction.
Use the uploaded image as the opening frame. Keep the product shape, label and blue glass material stable. Condensation slowly forms while the camera makes a restrained clockwise orbit. The background light shifts from cool blue to neutral white. End with the label facing the camera.Direct motion, camera and native audio
FLUX 3 Video’s announced outputs include native audio and multilingual dialogue. Connect sounds to visible causes: identify who speaks, what creates an impact and which ambience belongs to the location. For motion, use compatible instructions—a lateral track can follow movement, a push-in can support a reveal and a locked frame can emphasize transformation. These are editorial directing techniques, while native audio and multilingual dialogue are official BFL capability claims.
- Name the visible source of each important sound
- Keep dialogue appropriate for the clip length
- Use one primary camera behavior
- Check lip movement, impacts and ambience in playback
Build longer videos with references and keyframes
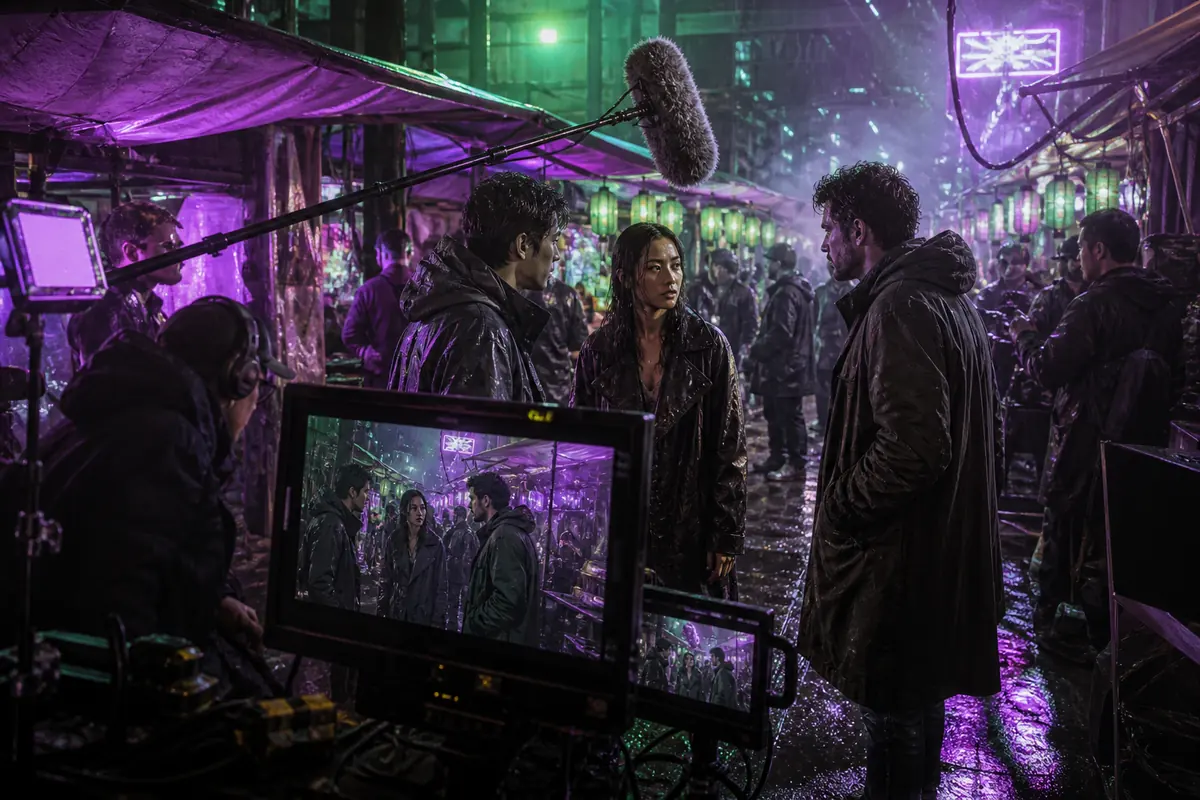
Black Forest Labs lists video references, ordered keyframes, video-and-audio continuation and agentic chaining among FLUX 3 Video’s early capabilities. For a multi-shot sequence, give each clip a clear purpose and reuse stable identity descriptions or approved references. Keyframes can define transitions between selected moments, but human review is still needed between clips to catch changes in identity, spatial logic, lighting, audio and pace.
- Assign every reference a specific role
- Reuse stable character and product descriptions
- Review the transition between every pair of clips
- Do not assume chaining guarantees continuity
Review a FLUX 3 Video before publishing
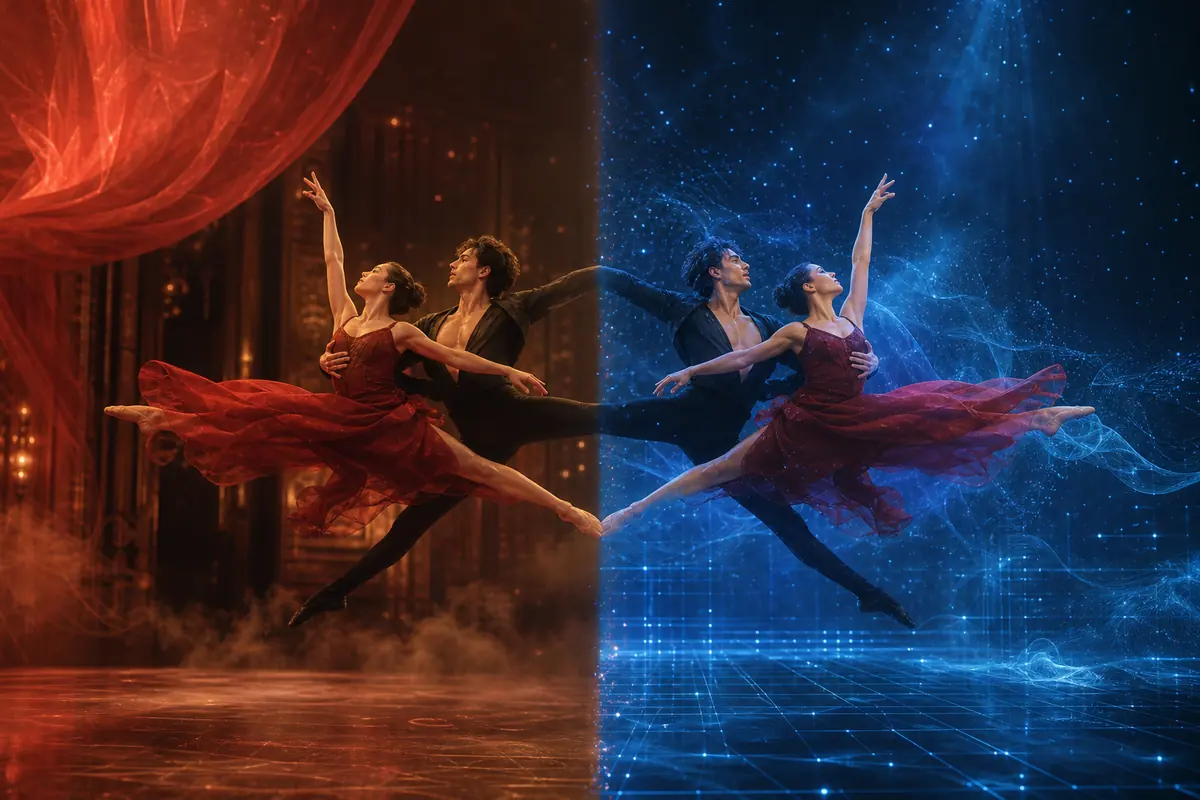
Do not judge video generation from its thumbnail. Watch the entire output and inspect identity, anatomy, product geometry, typography, camera logic, motion speed and the final composition. Listen separately for dialogue clarity, synchronized effects and unwanted audio changes. BFL labels its current evaluations preliminary, so test the same brief and references across several attempts before using the result in paid or brand-sensitive work.
- Watch at normal speed and frame by frame
- Verify names, logos and visible text
- Check audio against visible events
- Keep a human approval step for final delivery
Plan a repeatable FLUX 3 Video test before spending credits
A useful first session is a controlled test, not an attempt to finish an entire campaign. Choose one short brief with an objective result: a product completes one rotation, a character crosses a marked point, or a spoken line finishes before the final frame. Record the mode, prompt, input asset, aspect ratio, resolution, duration and credit estimate. Generate several candidates without changing the brief, then score them against the same requirements. This reveals normal variation before prompt revisions make comparison harder. Select the strongest candidate, identify the single most important defect and change only the instruction connected to that defect. If the subject action works but the camera feels rushed, preserve the action language and reduce the camera move. If speech timing works but pronunciation fails, keep the visual direction and shorten or simplify the line. A small test log turns each generation into evidence and makes it easier to reproduce an approved result later.
- Use one measurable scene rather than a complete campaign
- Keep the first prompt and settings identical across several attempts
- Score action, camera, identity, sound and ending separately
- Record every revision and the reason for making it
Troubleshoot common FLUX 3 Video failures
Diagnose the first visible failure instead of adding more adjectives. When action is unclear, reduce the number of events and describe the start and finish in physical terms. When anatomy or product geometry changes, strengthen the visual reference, shorten the motion or choose a source frame with fewer occlusions. When the camera jumps, remove competing movement instructions and keep one dominant path. When dialogue is too long, shorten the wording to fit the selected duration and identify the speaker before the quote. When sound feels detached, link each effect to an on-screen cause and describe ambience separately. Continuity problems between clips should be reviewed at the exact join: compare screen direction, subject position, scale, light, motion speed and background sound on both sides. Some attempts will still fail because generation is probabilistic. The practical goal is a repeatable review method that identifies whether the next change belongs in the prompt, input asset, settings or conventional edit.
- Simplify motion before adding more stylistic language
- Use clearer sources when identity or geometry must remain stable
- Remove contradictory camera instructions
- Move repairable timing, text or audio issues to editing when appropriate
Prepare generated clips for editing and delivery
Approval is not the end of the workflow. Save the original generated file, prompt, task identifier, input assets and settings before converting or compressing anything. Create an edit copy for trimming, sequencing, captions, audio mixing and color adjustments while preserving the source as evidence. Check the final aspect ratio against its destination and keep important faces, products and text outside interface overlays. Normalize dialogue and ambience only after confirming synchronization. If several generated clips form one sequence, compare color temperature, camera direction, subject scale and room tone at every cut. Add captions from a verified transcript rather than trusting generated on-screen wording. Before publishing, confirm rights for uploaded references, recognizable people, music, voices, logos and claims. Export a short review file for stakeholders and archive the approved master with its generation record so future revisions can start from a known result.
- Preserve the untouched generated master and its task record
- Use an edit copy for trims, captions, mixing and color work
- Check continuity and safe areas in the final delivery ratio
- Complete rights, claim and human-approval checks before publishing
References for the FLUX 3 AI video tutorial
Video modes and controls are checked against Black Forest Labs material. Shot-planning and review methods reflect practical production workflows.
Black Forest Labs — FLUX 3 official announcement, video modes and early evaluations↗Black Forest Labs — FLUX 3 official model overview↗Black Forest Labs Docs — Official FLUX prompting guide↗Black Forest Labs Docs — General FLUX prompting basics↗