
Understand the FLUX 3 Image generator
FLUX 3 is Black Forest Labs’ multimodal foundation model for images, video, audio and action prediction. BFL says the image component can synthesize and edit images across varied styles, aspect ratios and resolutions, with improved handling of complex prompts and highly accurate multilingual text. FLUX 3 remains in staged rollout, and image generation is still marked as coming soon on this website, so this tutorial explains the documented capabilities and a preparation workflow rather than pretending the local image tool is already active.
- Image synthesis and editing
- Multiple styles, aspect ratios and resolutions
- Complex-prompt and multilingual-text capability
- Availability and interfaces may change during rollout
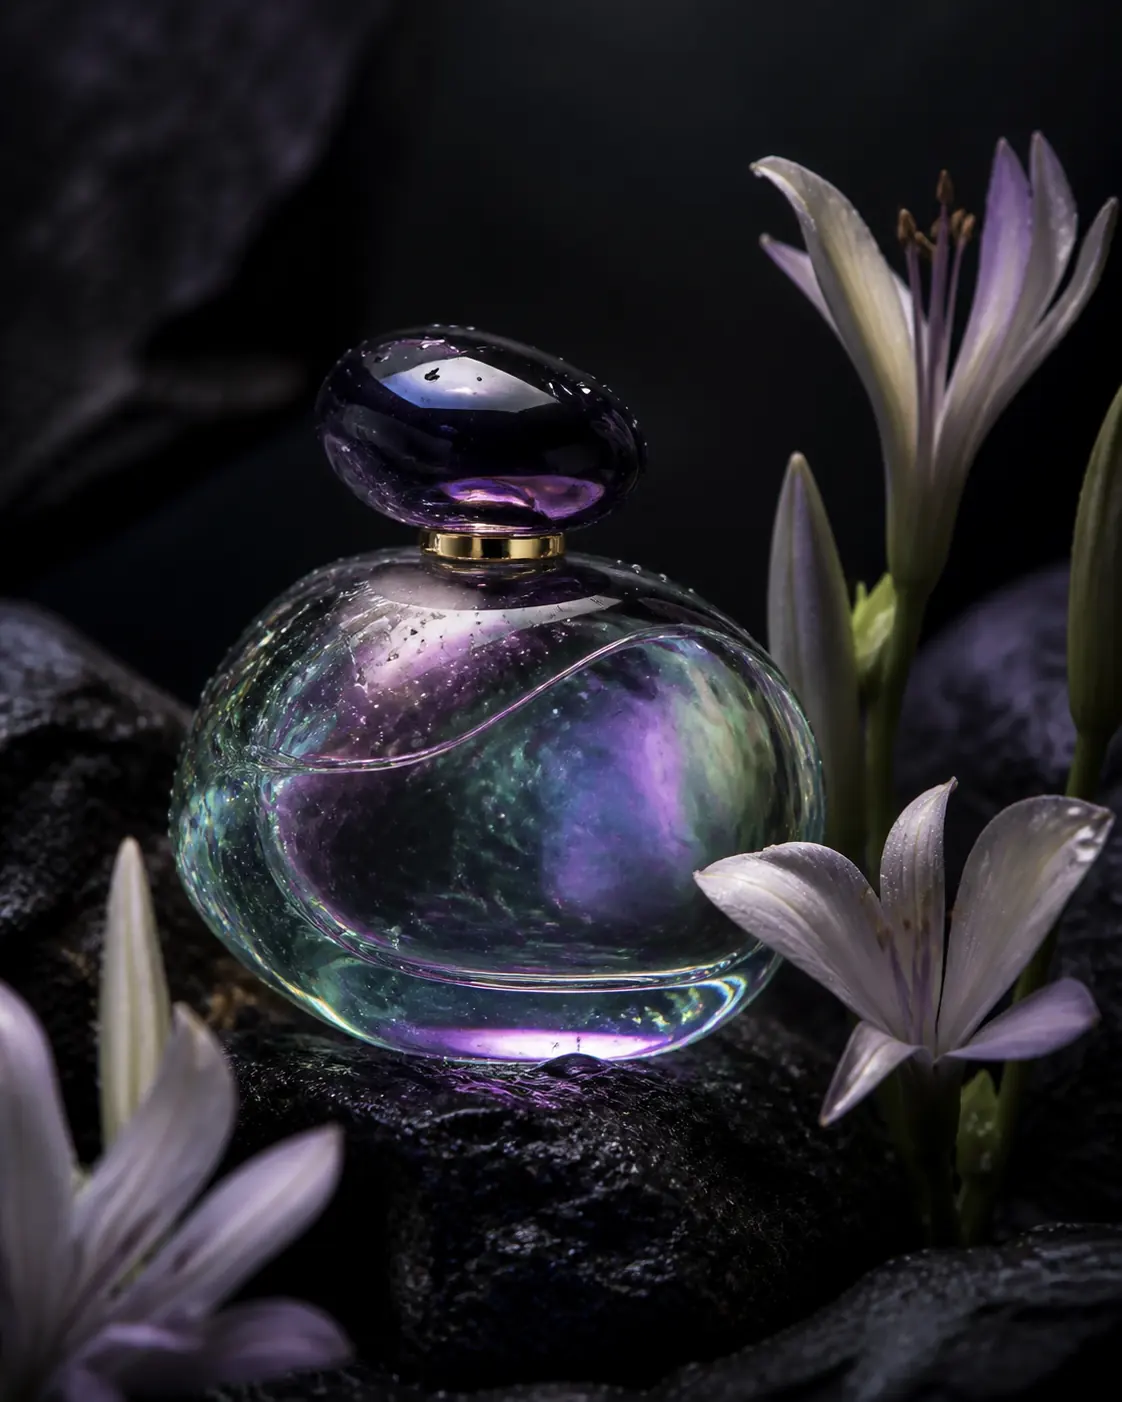
Create images with FLUX 3 step by step
Begin with the intended asset, not a collection of style words. Decide whether you need a portrait, product study, editorial frame, poster or concept image. Write a simple first prompt, choose an aspect ratio suited to the destination, generate a draft, identify the largest mismatch and revise one important detail. Black Forest Labs’ general FLUX prompting guide recommends natural language and progressive refinement; it is useful guidance for the FLUX family, not a guaranteed FLUX 3-specific formula.
- Define the image’s purpose and destination
- Write a focused first description
- Match the aspect ratio to the layout
- Review and change one major variable at a time
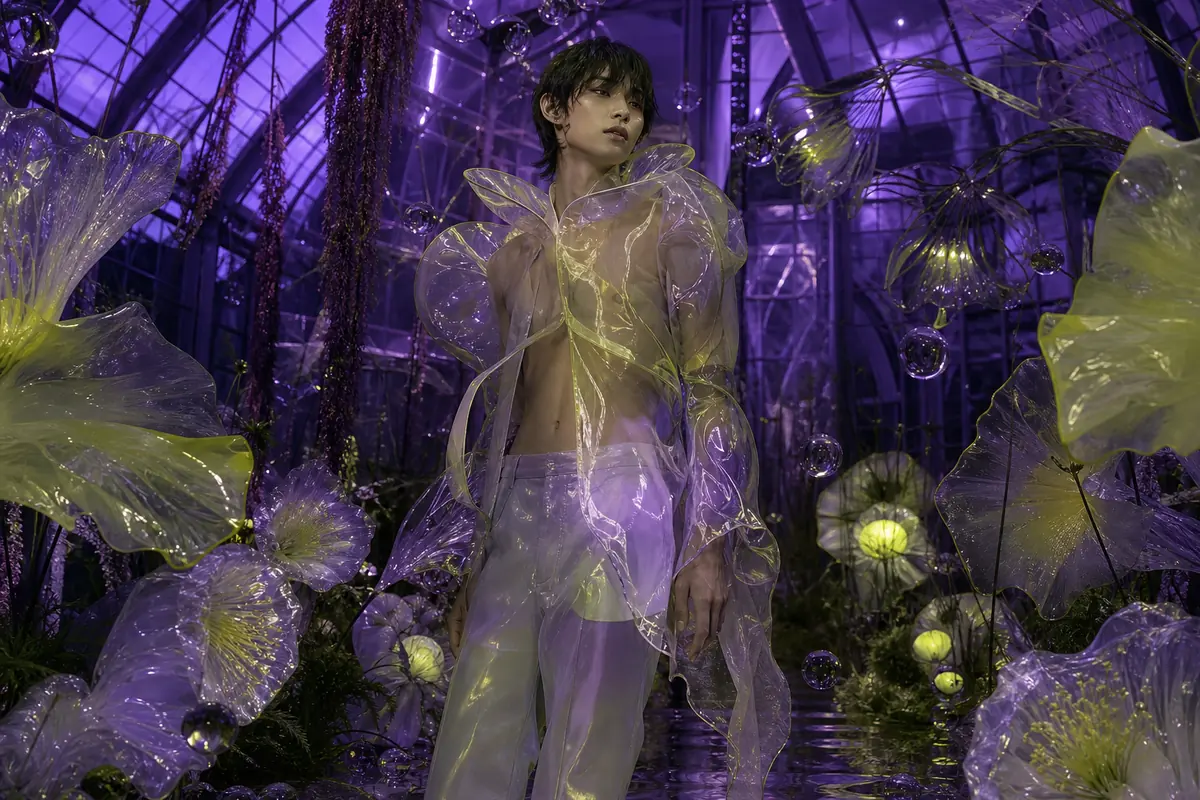
Write a clear FLUX 3 Image prompt
Place the main subject and its visual purpose first, followed by environment, composition, viewpoint, light, materials, palette and medium. Describe relationships rather than listing disconnected tags. BFL’s prompting basics say natural language helps FLUX understand what should appear and how elements relate. Exact behavior can vary by model and interface, so use this structure as a controllable brief rather than mandatory syntax.
Editorial product photograph of a translucent violet running shoe suspended above brushed aluminium, centered composition, three-quarter view, hard side light, crisp shadow, restrained silver and ultraviolet palette, clean studio background.Use FLUX 3 text-to-image for realistic results
A realistic prompt should describe observable evidence: material, scale, surface condition, light source, environment, viewpoint and depth. The official FLUX style guide recommends specific camera, lens and lighting language for photorealistic direction. Those examples currently document the wider FLUX image family, so they support a prompting method rather than proving that a particular camera phrase guarantees realism in FLUX 3. Avoid vague phrases such as “ultra realistic” when concrete scene details would be more useful.
Natural-light environmental portrait of a ceramic artist beside a north-facing studio window, medium shot, 50 mm perspective, soft shadow transition, visible clay dust on hands and apron, neutral skin texture, shelves receding gently out of focus.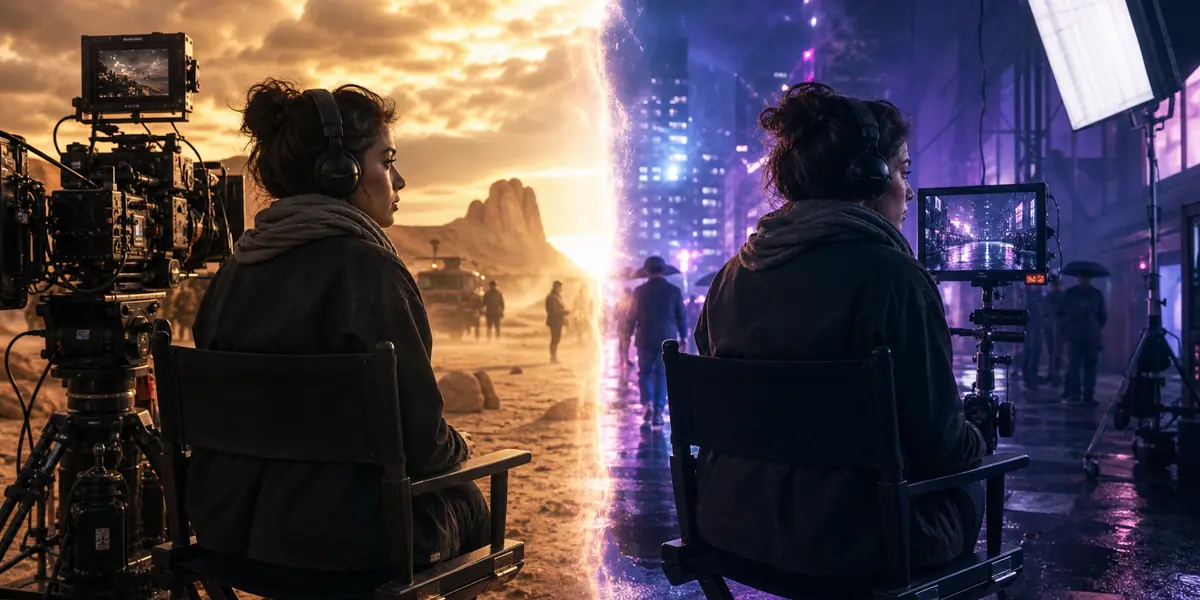
Make cinematic images with FLUX 3
Cinematic direction is a combination of composition, light, color and implied story—not a single keyword. Name the shot scale, subject position, environmental light and narrative moment. A wide frame can establish place, while a close-up can emphasize expression or material detail. BFL’s official style documentation describes window light, golden hour, blue hour, chiaroscuro and practical lighting as useful visual directions across FLUX image models.
Wide cinematic frame of a lone surveyor crossing a flooded salt flat at blue hour, subject on the lower-right third, distant storm wall, cool ambient light with one warm headlamp reflection, restrained contrast, quiet anticipatory mood.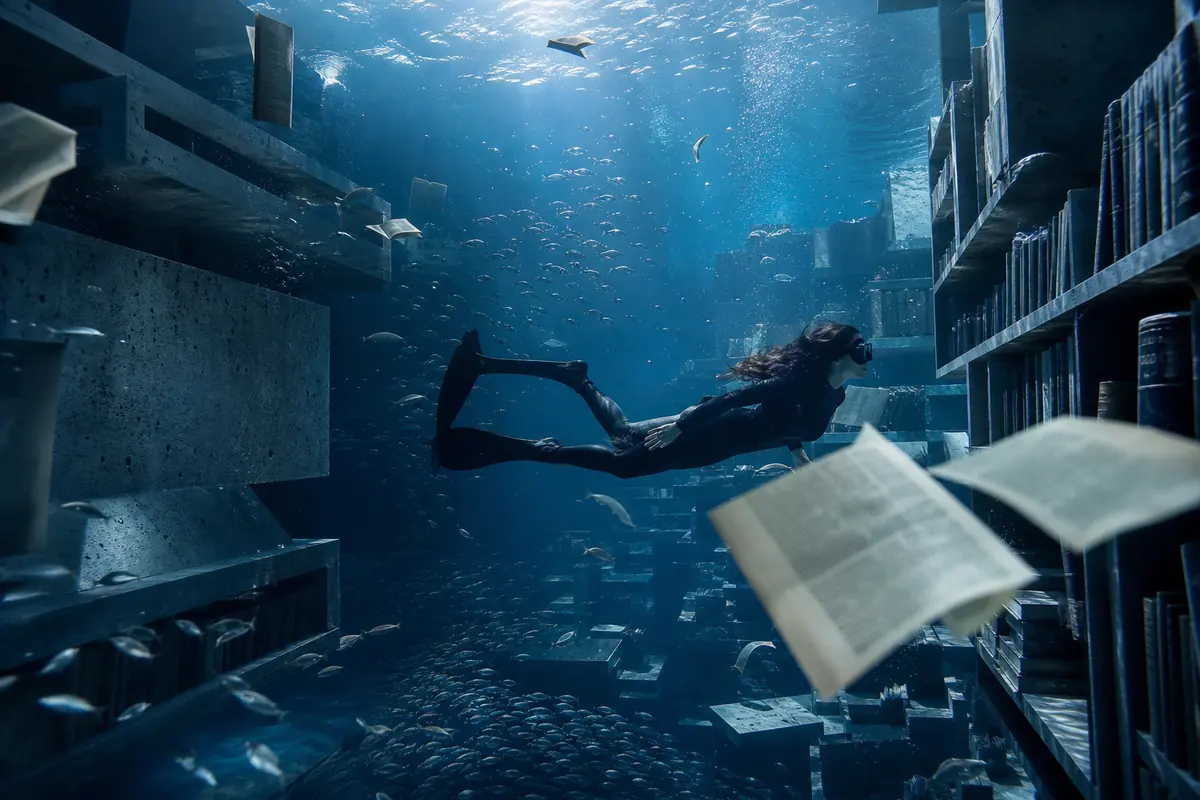
Generate product images with FLUX 3
For a product image, specify the object’s geometry, materials, finish, label placement, camera angle, surface, lighting and required negative space. Keep brand-critical copy short and explicit. FLUX 3 is officially presented as handling complex prompts and highly accurate multilingual text, but generated packaging, measurements, logos and legal copy still require character-by-character human review before commercial use.
Premium studio photograph of a cylindrical cobalt-blue glass skincare bottle with a brushed aluminium cap, three-quarter front view on pale limestone, soft rectangular key light from the left, subtle rim light, generous empty space above, label text “NORTH / 03” centered and unobstructed.Create portraits with FLUX 3
A useful portrait brief separates identity from styling. Describe age range, expression, pose and visible features before wardrobe, location, lens language and color treatment. If a reference image is used, state whether it should guide identity, pose, wardrobe or style. BFL says FLUX 3 accepts image references and supports image editing, but reference use does not remove the need for consent, likeness rights and careful review of facial consistency.
- Describe expression and pose in visible terms
- Assign each reference a single clear role
- Keep lighting compatible with the location
- Obtain permission for identifiable people
Handle typography and image references
When exact words must appear, BFL’s prompting basics recommends placing the wording in quotation marks so it is distinguished from the scene description. State the location, hierarchy, color and character of the typography. For reference-led work, explain what each image contributes—subject, palette, material, composition or style—instead of uploading several images without hierarchy. FLUX 3’s official model page highlights text and typography, but important names and claims must still be verified manually.
Minimal exhibition poster with the headline “FORM IN MOTION” in large condensed sans-serif lettering across the upper third, a folded chrome sculpture centered below, black background, precise white type, one electric-blue accent line.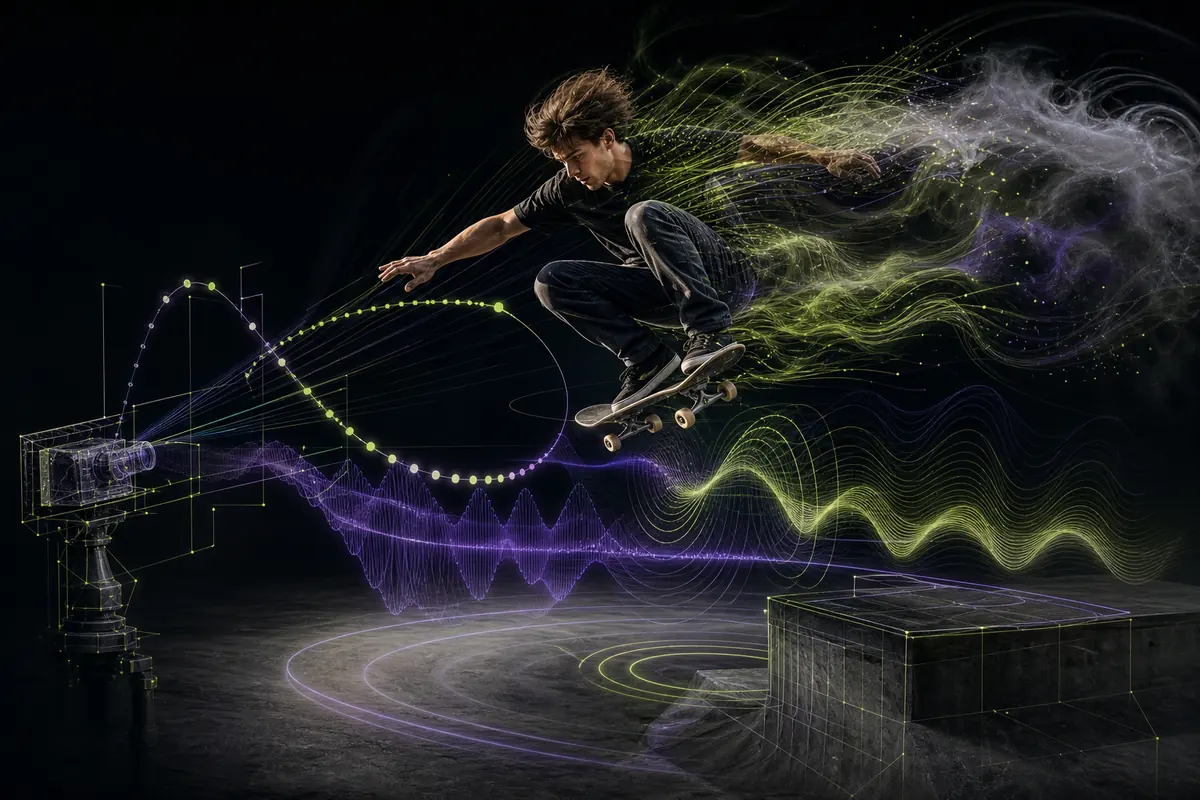
FLUX 3 Image settings and quality review
Settings depend on the provider that exposes FLUX 3, so do not assume one interface’s controls apply everywhere. Choose aspect ratio from the intended placement and resolution from the required delivery size; preserve the original output before cropping or compression. Review prompt adherence, composition, anatomy, object geometry, edges, small details, typography and reference consistency. If the image is close, keep successful wording and change framing, light, material or text one at a time.
- Use the destination to choose aspect ratio
- Zoom in to audit edges, surfaces and small typography
- Verify every visible word and product claim
- Record prompts, references and settings for approved outputs
Plan controlled FLUX 3 Image variations
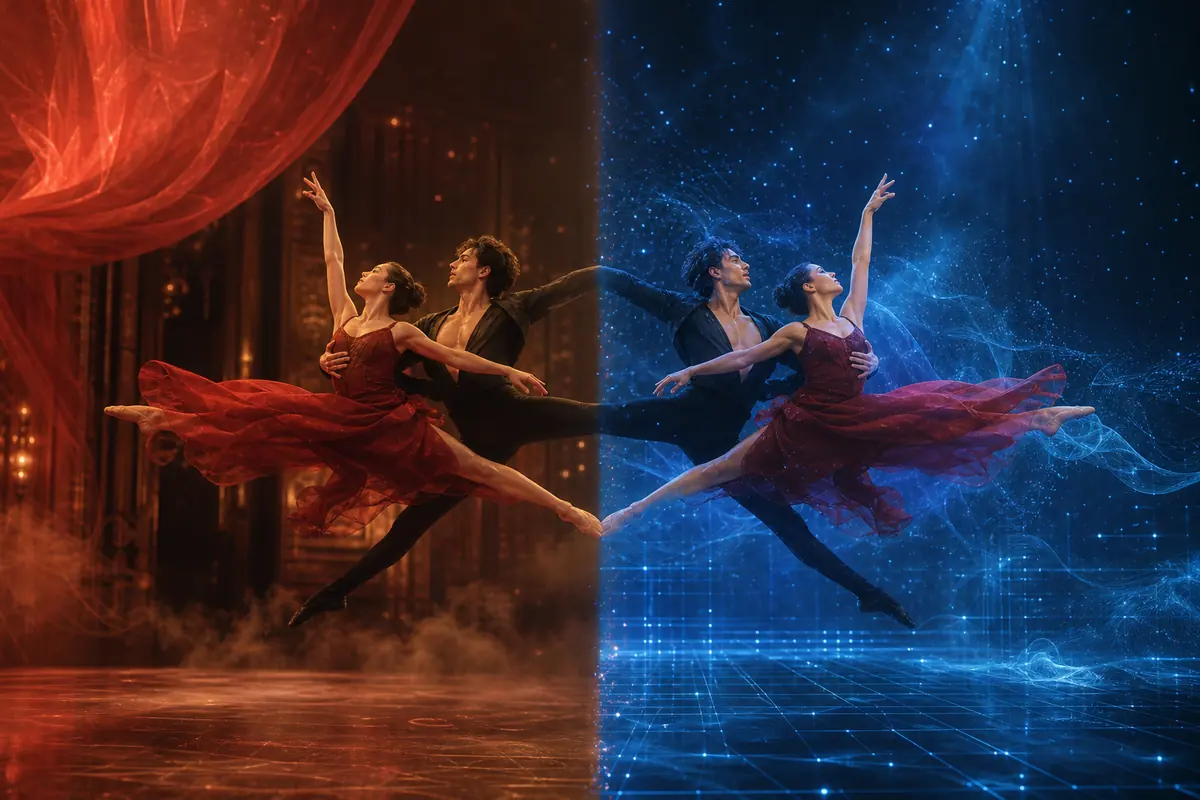
A variation set should answer a specific creative question. Keep the product, character or scene description stable and change one dimension such as viewpoint, light direction, material, palette or background. Name each version according to that change so reviewers can compare decisions rather than react to unrelated images. For a campaign, begin with one approved composition and create a small matrix: two lighting directions, two background treatments and one fixed delivery ratio. For a portrait, keep identity, expression and pose stable while testing wardrobe or location. For product work, protect geometry, label orientation and material before exploring camera height or surface. Record the prompt, reference files, ratio and selected output for every approved direction. This creates a reusable visual specification and reduces the risk of losing a strong result while rewriting the entire prompt. When the image tool becomes available, the same plan can be applied without treating every generation as an isolated experiment.
- Define the single question each variation should answer
- Keep identity and brand-critical details stable
- Name versions by the variable that changed
- Save prompts, references, ratios and approved outputs together
Troubleshoot anatomy, geometry, text and reference drift
Classify the failure before revising. For anatomy, simplify the pose, reduce occlusion and describe visible hand contact only when it matters. For product geometry, use a clearer source, state protected proportions and avoid asking for a camera angle that the reference cannot support. For typography, shorten the wording, quote it exactly, reserve enough clear space and verify every character at full resolution. When reference identity drifts, assign the source one explicit role and remove competing identity descriptions. If composition is correct but materials look wrong, preserve framing and revise only surface, finish and light response. Background artifacts often improve when unnecessary objects and contradictory style terms are removed. Not every error belongs in another generation: small layout, crop and color corrections may be faster in conventional image editing, while inaccurate claims, logos or packaging text require human correction. A disciplined diagnosis protects good elements and keeps revisions traceable.
- Identify one failure category before rewriting the prompt
- Use cleaner references for identity and geometry
- Proof every visible word and brand element
- Choose editing instead of regeneration when the correction is local
Prepare FLUX 3 images for production handoff
Keep the original generated image and its prompt record before cropping, retouching or compressing the file. Create derivative versions for web, social, print or presentation layouts rather than overwriting the source. Inspect the intended delivery size as well as a close zoom: a detail that looks acceptable in a large preview may break after sharpening or compression, while unnecessary micro-corrections may not matter at mobile size. Verify color, crop, safe areas, typography and product proportions in the final layout. Store references, approved prompts, aspect ratios and retouching notes with the chosen image so another designer can reproduce the direction. For commercial work, complete a separate review of likeness consent, source rights, logos, packaging, measurements and factual claims. Generated images still need the same editorial and legal approval expected of any production asset.
- Archive the original output before making derivatives
- Review both full resolution and final display size
- Package prompts, references, ratios and retouching notes together
- Complete brand, rights and factual checks before release
References for the FLUX 3 AI image tutorial
Image capability and rollout statements are tied to the sources below. Prompt structure and art-direction advice reflect practical creative workflows.
Black Forest Labs — FLUX 3 official announcement and image capabilities↗Black Forest Labs — FLUX 3 official model overview↗Black Forest Labs Docs — Official FLUX prompting guide↗Black Forest Labs Docs — General FLUX prompting basics↗Black Forest Labs Docs — Style, aesthetics and text guidance↗